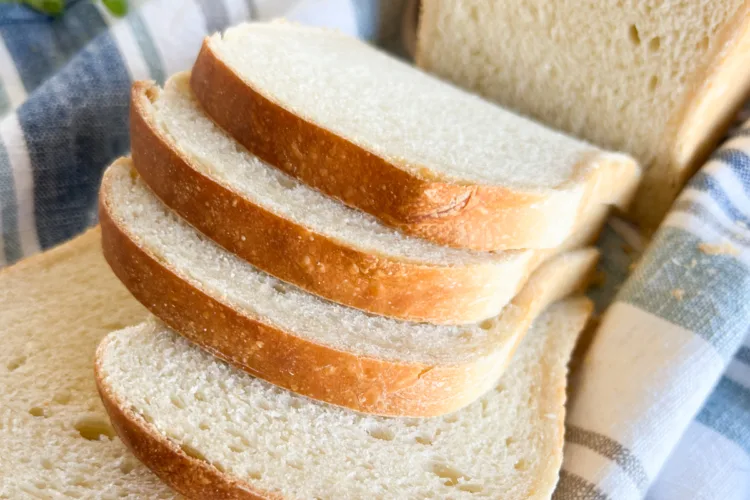
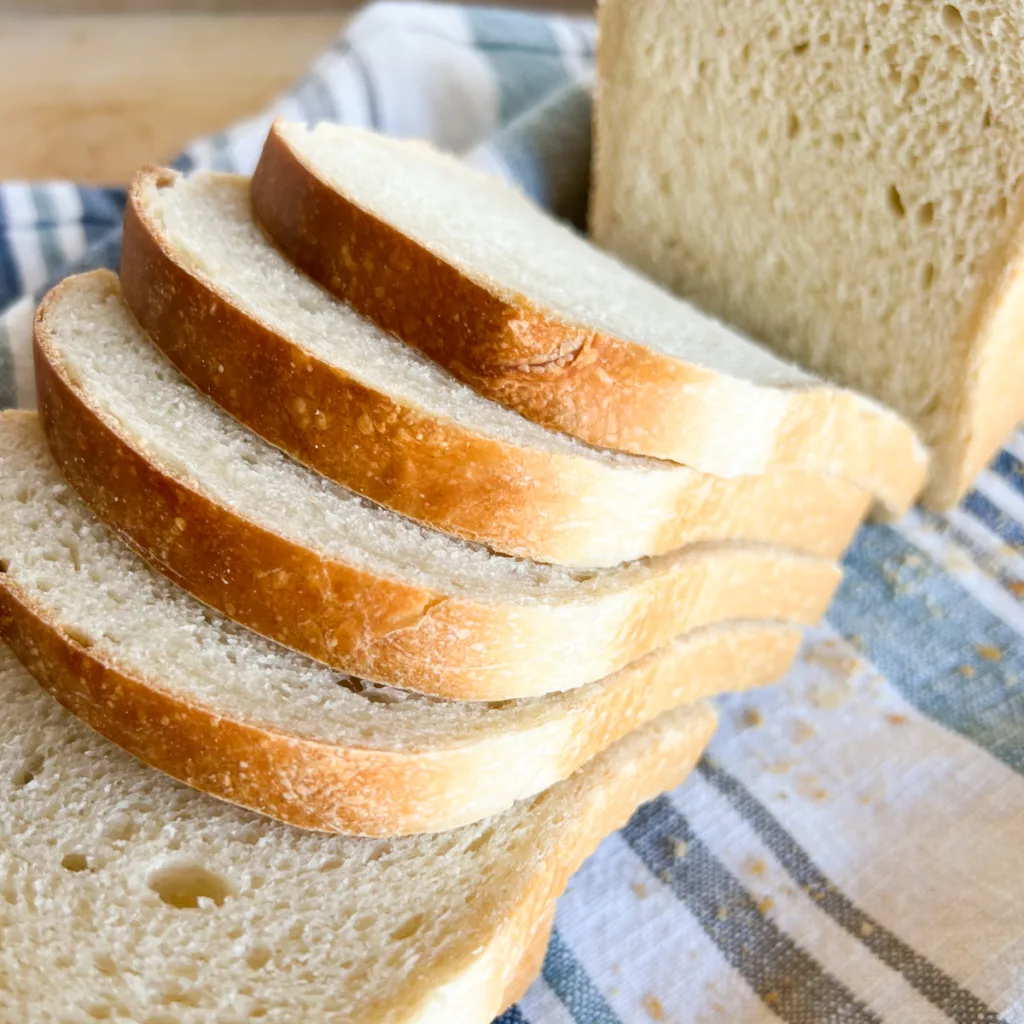
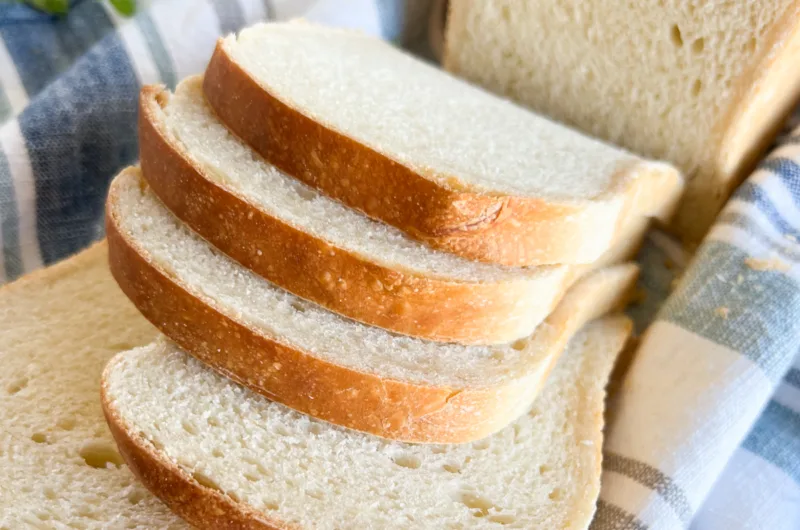
Soft buttery bread with a slight sourdough tang, is there anything better? This sourdough sandwich bread recipe is perfect for those who love sourdough, but want a loaf that isn’t so crusty. It is perfect for toast, sandwiches, and homemade sourdough french toast. This recipe is sure to become a favorite!

I make a double batch of this sourdough sandwich bread recipe every week, and sometimes twice a week. My kids devour this stuff and have sworn off the store bought sandwich bread. Once you make it, I’m sure you will too. This soft white bread makes wonderful sandwiches, is perfect for toasting, but also makes the best sourdough french toast!
Bread flour in this recipe ensures a lofty loaf and sturdy crumb that will stand up to all the toppings and fillings. Butter and sugar give this sandwich bread a tender crumb and buttery taste. This recipe doesn’t require any commercial bakers yeast, only sourdough starter, which means long ferment times. Check out my Sample Bakers Schedule to give yourself an idea on when to start and how to plan ahead.
Ingredients
- Water – I always use filtered water or spring water when working with sourdough. Chlorine in tap water can slow fermentation times.
- Sourdough Starter – An active and bubbly starter works best in this recipe. Feed your starter 8-16 hours before you plan to bake.
- Sugar – Raw cane sugar is what I use, but you can easily substitute with honey or coconut sugar.
- Bread Flour – I find bread flour gives the best results. All-purpose flour can be substituted, but your crumb will not be as light and airy.
- Salt – Sea salt, celtic salt, and pink salt all work well.
- Butter – Use unsalted butter at room temperature for this recipe. To make it vegan simply replace the butter with your favorite plant based butter.
How to Make Sourdough Sandwich Bread
Step 1: Mix the Dough
In a large mixing bowl, combine the water, active sourdough starter, and sugar. Whisk together until the sourdough starter has completely dissolved.
Next add in the bread flour and salt. Mix until a shaggy dough forms.
Add the room temperature butter in small pieces, and mix by hand or in a stand mixer, until it is fully incorporated.
Make it Vegan: To make this sourdough sandwich bread vegan, simply replace the butter with your favorite plant-based butter or oil.
Step 2: Strengthen the Dough
Once your dough is formed, cover the bowl with a damp cloth and allow the dough to rest for 30 minutes. During this time the flour will fully absorb the water, and the dough will relax.
After the rest period, uncover the dough and perform a set of stretch and folds. Stretching and folding will strengthen the dough.
How to Stretch and Fold:
- Lightly wet your hands before handling the dough to prevent sticking.
- Scoop up an edge of the dough and gently pull it upwards.
- Once the dough reaches a point where it resists being pulled go ahead and fold the dough over itself.
- Give the bowl a quarter turn and repeat this stretching and folding motion.
- You will turn the bowl, stretch and fold until the bowl comes full circle. These four stretch and folds are called a set.
Repeat this process of resting the dough and performing stretch and folds two more times. You will have performed three total sets. This process is necessary for developing the gluten structure and giving you a soft and lofty sandwich bread.
Using a stand mixer? Skip the stretch and folds: If you own a stand mixer you can rest the dough for 30 minutes after mixing, and then run the mixer on medium-low with a dough hook attachment for about 10 minutes, or until the dough is smooth and elastic and fully pulls away from the sides.
Step 3: Bulk Fermentation
Cover the bowl and dough with a damp cloth and allow it to rise for 8-10 hours at 70°F/21°C. Rise time will vary based on the temperature of your home. Add time to bulk fermentation if your home is cooler and subtract time if your home is warmer. Your dough will have doubled in size when bulk fermentation is done.
Step 4: Shape your Loaf
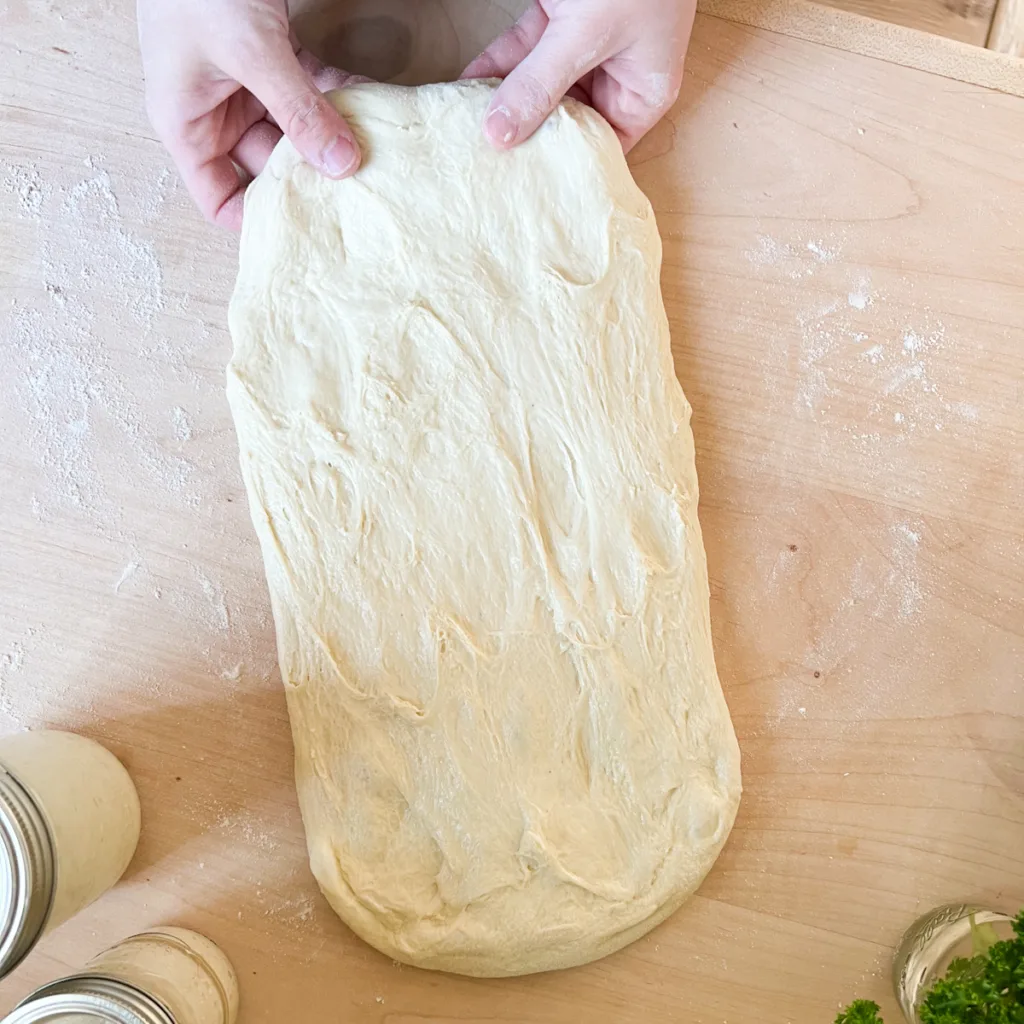
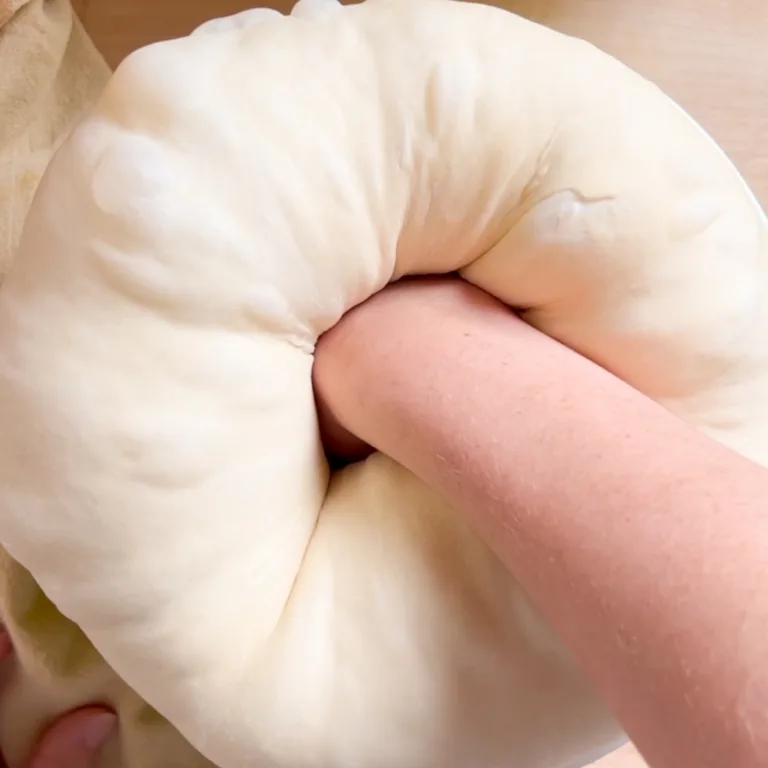
When you are ready to shape your loaf, degas the dough by punching it down and removing as much air as possible, before turning it out onto a lightly floured surface.


Why do you degas the dough? Degassing is the act of punching the dough down with your fist and knocking out air that has built up during bulk fermentation. By degassing the dough you redistribute the yeast and sugars, giving you a better second rise. Degassing also removes large pockets of air resulting in a finer more even crumb and a softer texture. Degassing is a common step for breads with a finer crumb like dinner rolls, sandwich bread, and even some pizza crusts.
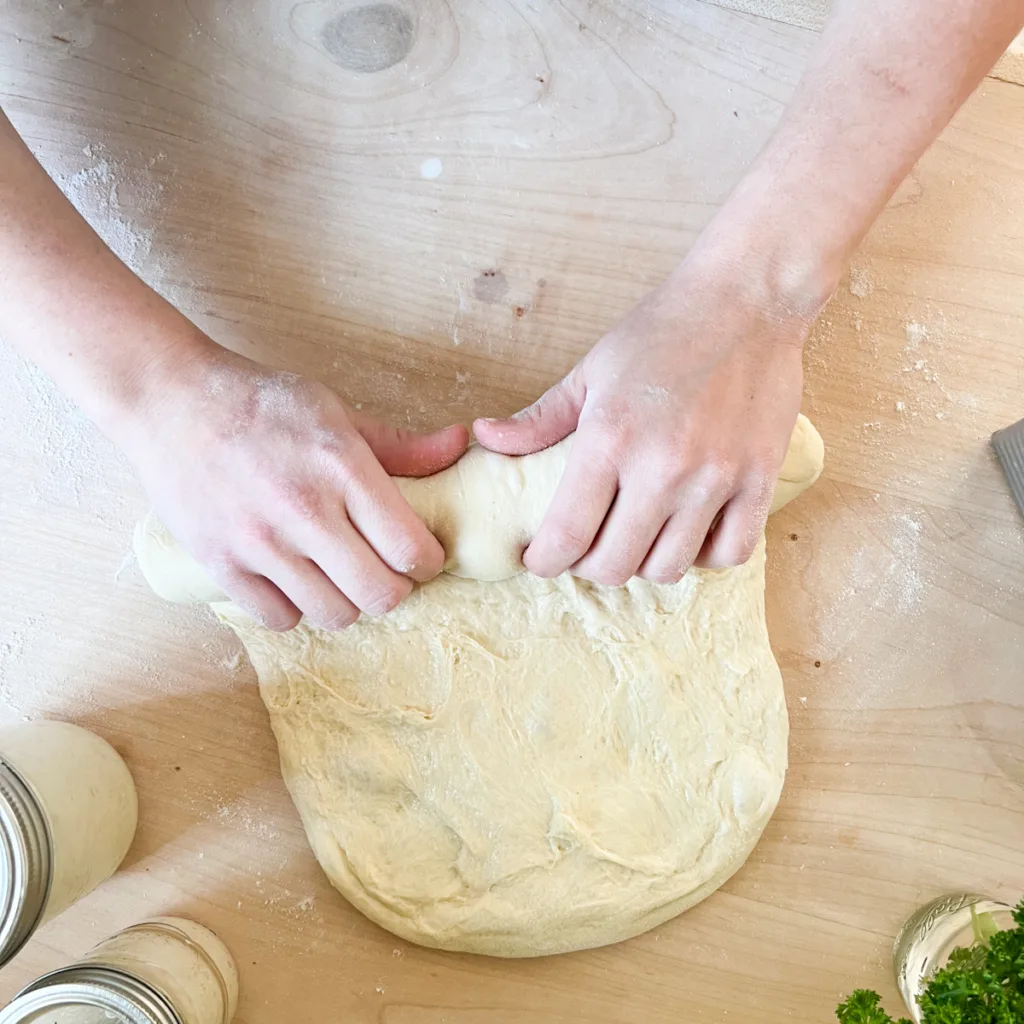
After turning out the dough, use floured hands to gently pull it into a 5″x12″ rectangle. You don’t need to be exact with the size, a rough estimate will do. Starting at a long end, tightly roll up the dough into a log shape and gently tuck the ends in.
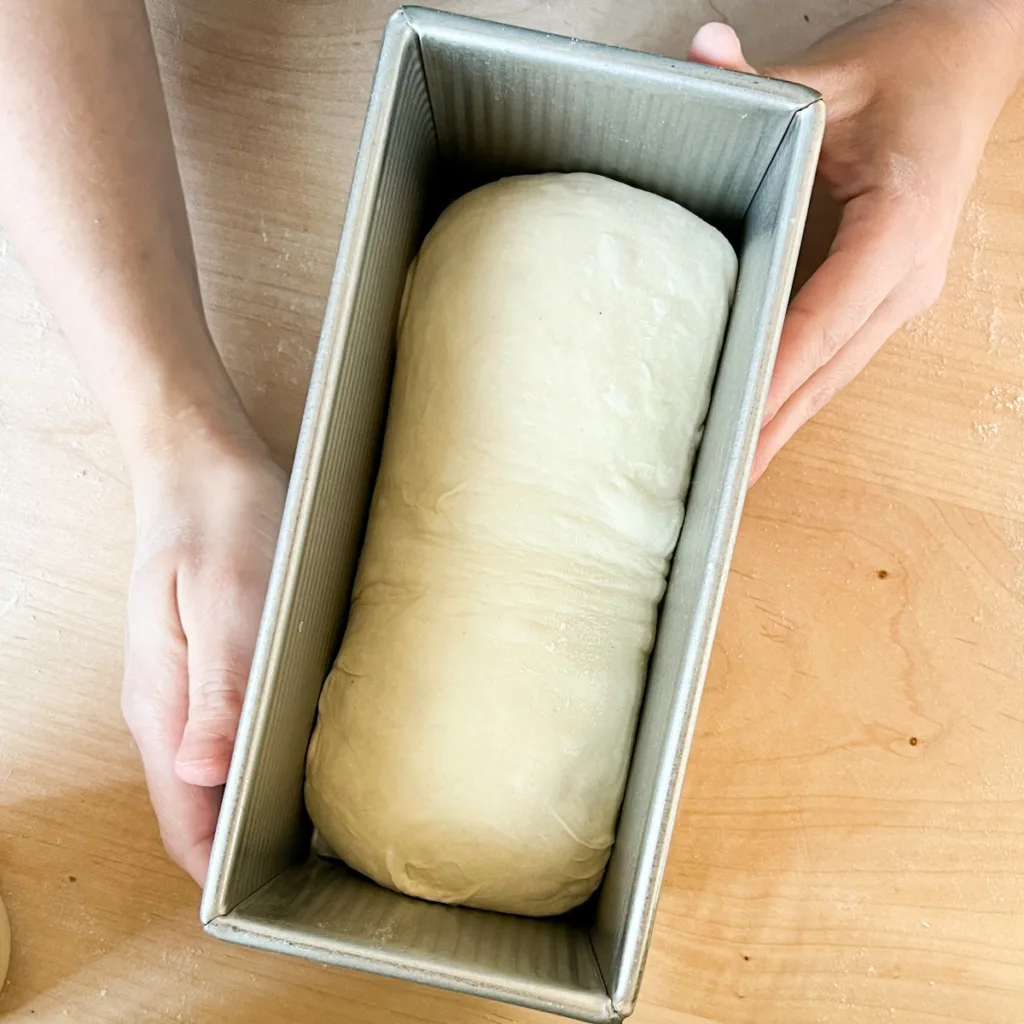
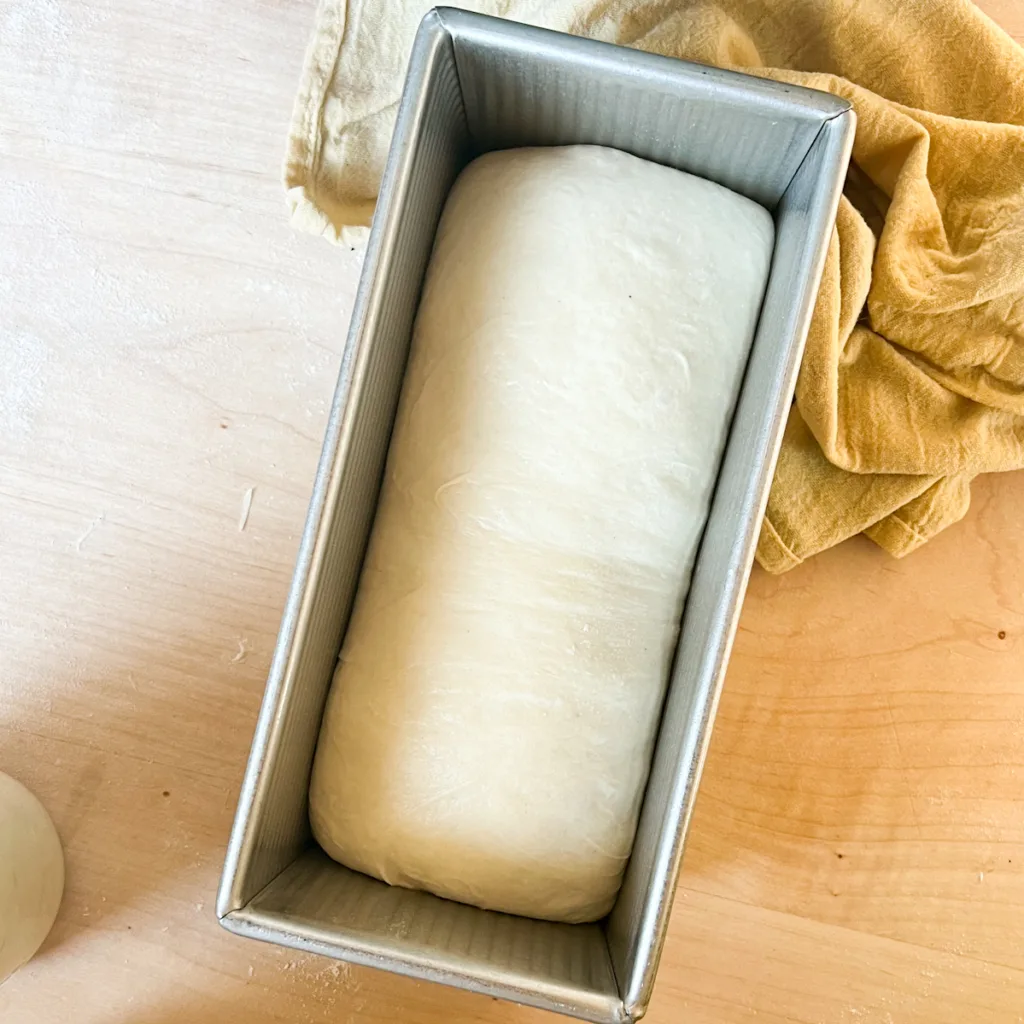
Lightly butter your loaf pan and transfer the log of dough. I prefer to use this 9″x4″ loaf pan when making this recipe for a taller, more classic looking sandwich bread. A classic 9″x5″ loaf pan works just as well.
Step 5: Second Rise
Cover the top of your bread pan with a damp cloth to prevent the top of your dough from drying out. Leave the dough to rise for 2-3 hours at 70°F/21°C or until the dough has risen 50% of its original size. Rise time will vary based on the temperature of your home. Add time to second rise if your home is cooler, and subtract time if your home is warmer.
Step 6: Bake
Pre-heat your oven to 370°F/190°C and bake your loaf on the second to bottom rack for 40 minutes. Allow the loaf to cool for at least two hours before cutting.
Why do you wait to cut sourdough? Once out of the oven the inside of your bread continues to cook. If you cut into it too soon the internal heat will escape and stop the process resulting in a gummy loaf.

Sample Bakers Schedule
9AM (day 1): Feed your sourdough starter.
7PM (day 1): Mix the dough.
7:30PM (day 1): Preform a stretch and fold set.
8PM (day 1): Preform a stretch and fold set.
8:30PM (day 1): Preform a stretch and fold set.
7AM (day 2): Degas and shape the loaf.
10AM (day 2): Bake your sourdough sandwich bread.
More Sourdough Recipes
Sourdough Sandwich Bread
40
minutes25
hours1
loafSoft buttery bread with a slight sourdough tang, is there anything better? This sourdough sandwich bread recipe is perfect for those who love sourdough, but want a loaf that isn’t so crusty. It is perfect for toast, sandwiches, and homemade sourdough french toast. This recipe is sure to become a favorite!
Ingredients
310 g filtered water
50 g active sourdough starter
50 g raw cane sugar
500 g bread flour
10 g sea salt
1/2 stick (4tbs or 56g) unsalted butter, room temperature
Directions
- Mix the Dough
- In a large mixing bowl, combine the water, active sourdough starter, and sugar. Whisk together until the sourdough starter has completely dissolved.
- Next add in the bread flour and salt. Mix until a shaggy dough forms.
- Add the room temperature butter in small pieces, and mix by hand or in a stand mixer, until it is fully incorporated.
- Strengthen the Dough
- Once your dough is formed, cover the bowl with a damp cloth and allow the dough to rest for 30 minutes. During this time the flour will fully absorb the water, and the dough will relax.
- After the rest period, uncover the dough and perform a set of stretch and folds. Stretching and folding will strengthen the dough. Not sure how to stretch and fold? Click here for instructions. Using a stand mixer? See below tips.
- Repeat this process of resting the dough and performing stretch and folds two more times. You will have performed three total sets. This process is necessary for developing the gluten structure and giving you a soft and lofty sandwich bread.
- Bulk Fermentation
- Cover the bowl and dough with a damp cloth and allow it to rise for 8-10 hours at 70°F/21°C. Rise time will vary based on the temperature of your home. Add time to bulk fermentation if your home is cooler and subtract time if your home is warmer. Your dough will have doubled in size when bulk fermentation is done.
- Shape your Loaf
- When you are ready to shape your loaf, degas the dough by punching it down and removing as much air as possible, before turning it out onto a lightly floured surface.
- After turning out the dough, use floured hands to gently pull it into a 5″x12″ rectangle. You don’t need to be exact with the size, a rough estimate will do. Starting at a long end, tightly roll up the dough into a log shape and gently tuck the ends in.
- Lightly butter your loaf pan and transfer the log of dough. I prefer to use this 9″x4″ loaf pan when making this recipe for a taller, more classic looking sandwich bread. A classic 9″x5″ loaf pan works just as well.
- Second Rise
- Cover the top of your bread pan with a damp cloth to prevent the top of your dough from drying out. Leave the dough to rise for 2-3 hours at 70°F/21°C or until the dough has risen 50% of its original size. Rise time will vary based on the temperature of your home. Add time to second rise if your home is cooler, and subtract time if your home is warmer.
- Bake
- Pre-heat your oven to 370°F/190°C and bake your loaf on the second to bottom rack for 40 minutes. Allow the loaf to cool for at least two hours before cutting.


Notes
- Make it Vegan: To make this sourdough sandwich bread vegan, simply replace the butter with your favorite plant-based butter or oil.
- Using a stand mixer? Skip the stretch and folds: If you own a stand mixer you can rest the dough for 30 minutes after mixing, and then run the mixer on medium-low with a dough hook attachment for about 10 minutes, or until the dough is smooth and elastic and fully pulls away from the sides.
- Why do you degas the dough? Degassing is the act of punching the dough down with your fist and knocking out air that has built up during bulk fermentation. By degassing the dough you redistribute the yeast and sugars, giving you a better second rise. Degassing also removes large pockets of air resulting in a finer more even crumb and a softer texture. Degassing is a common step for breads with a finer crumb like dinner rolls, sandwich bread, and even some pizza crusts.
- Why do you wait to cut sourdough? Once out of the oven the inside of your bread continues to cook. If you cut into it too soon the internal heat will escape and stop the process resulting in a gummy loaf.
Did you make this recipe?
Tag @madeinmotherood on Instagram and hashtag it with #madeinmotherhood
Like this recipe?
Follow @madeinmotherhood on Pinterest

I’ve made this loaf twice now and my family absolutely devours it. So delicious and such an easy recipe to follow with tons of detail. I’ve made it with AP flour both times.
Thank you for sharing Alicia! I am so happy to hear your family enjoyed the recipe!
Tried this earlier in the week made a double batch because I LOVE your other recipes so I knew it would be good! I had to split my loaves in half so I could share with my parents and grandparents everyone was obsessed!! Thank you!!
Thank you for sharing Gabbie! I am so glad you loved this recipe!
At the second rise part could you throw it it the loaf pan then put it in the fridge to proof?
Hey Mal! That should work just fine!
I used my stand mixer instead of stretch and fold but my dough didn’t rise. Did I need to do this 3 times like the original stretch and folds? I had made the assumption I only needed to mix it once since it said “skip the stretch and foldS”
Hey Drew. You should only need to strengthen it in the stand mixer once. The lack of rise is more likely due to starter health or the temperature of your home. Make sure to use your starter at its peak and adjust rise times to accommodate the temperature of your home.
I made this recipe once as a new baker. I noticed there’s no recommended temperature for the water to dissolve the starter. Does it matter? My dough was kind of like playdough so i didnt think stretch and folds worked but it actually baked the loaf well somehow.
Hi I made this recipe first time. Used KA bread flour. I’m not an experienced baker so was pleasantly surprised the loaf itself turned out- height and crumb good. But my bread has a slight mushroomy scent. Is this ok? I dont like it but haven’t tasted it yet. The starter itself didnt smell that way. Got my starter from experienced baker but maybe its how im feeding it? Or is mushroomy not good? Maybe its my environment.
Hey Nita. Your bread should not smell like mushrooms. Have you worked with sourdough before? It might be the mushroom-y smell you are describing is the sourdough. If you are uncertain you are feeding your starter correctly check out my How to Make a Sourdough Starter post to learn more about the feeding process.
Thank you! Ill try again. The smell was just slight, and I actually tasted it and was good. Maybe it was because it was still warm when i sniffed it. I am feeding starter again and will give this another run! Its ok if its not too sour of sourdough, but i was hoping for a more yeasty aroma.